Imagery
The Queensland Globe Imagery layer allows you to incorporate a state-wide imagery mosaic, collected from various platforms such as satellites, piloted aircraft and drones. This imagery layer is georeferenced, meaning that it is matched to real locations on the ground and is incorporated into your map by default.
Whilst the use of this layer will suit most circumstances, there are alternatives for adding imagery to provide richer context to your map, such as:
- User-added imagery requiring georeferencing using the Georeferencing tool.
- User-added imagery with a world file (e.g. Download available from QImagery).
- Adding imagery mosaics as layers from the Past Imagery tool.
- Importing an image service.
User added imagery
Additional context can be provided to your map through the inclusion of your own imagery or a scanned map as a backdrop, using the Add My Data tool.
Accepted imagery file formats
- .JPG
- .PNG
- .ZIP (containing either a single .JPG or .PNG and the associated world file)
To add your own imagery into the Queensland Globe you must be logged in. A prompt to login or sign up for an account will be given if you attempt to add an image file if not logged in.
The Add My Data tool allows you to incorporate historical imagery frames that are discoverable through the Past Imagery tool and can be downloaded (with the associated world file) from QImagery. The image and world file must be packaged into a compressed .ZIP file prior to import into Qld Globe for the world file to be recognised.
Please note that QImagery images are geolocated only. The georeferencing tools can be used with the imported layer to add further refinement.
Size limitations apply .JPG (maximum 3.5Mb) or .PNG (maximum 7Mb). User-added imagery is not supported for exporting to ArcGIS map.
User-added imagery can be saved to a map and shared; or incorporated into a print. If further refinement is applied using the georeferencing tools, the resulting image can be downloaded for use in other applications.
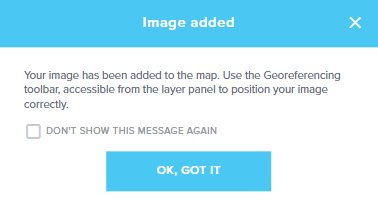
When an image is added to the Queensland Globe the following pop-up will appear. You can choose to not show the message again by selecting the checkbox. Otherwise, select OK, GOT IT to proceed.
Georeference an image
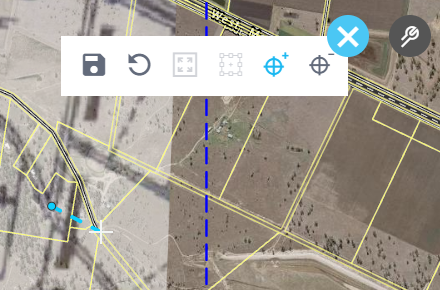
Once the image is added, the Georeferencing toolbar will appear in the top right corner of the map. Use these tools to adjust the placement of your image in relation to the existing imagery or data layers included in your map. The position of your added image can be adjusted to align with the existing layers within the Queensland Globe using the tools offered within the Georeferencing toolbar.
Key points to note
- Ensure you are logged in to incorporate a user-added image.
- If an image is added using a .ZIP folder (image and world file) the georeferencing tools will be available.
- Once you have refined the placement of the image in respect to the additional data layers you have added, ensure that you select the Save icon in the Georeferencing toolbar prior to downloading the image or saving it as an image layer to a map. This will save any positional adjustments made to the image that you have imported.
- If you are adding an image without a world file, zoom to the location of interest prior to adding the image. Once added, the georeferencing toolbar will expand and the image will be displayed in the centre of the map view.
Georeferencing
The Georeferencing tools are available for use on imagery added with or without a world file.
- Log into Queensland Globe using one of the available providers. This will allow you to save your changes once your image is registered and enables you to share image later on.
- If you are adding a .JPG or .PNG (without a world file), zoom to the approximate location of your image first. If you are adding your image as a packaged .ZIP then this is not required as this is specified in the world file.
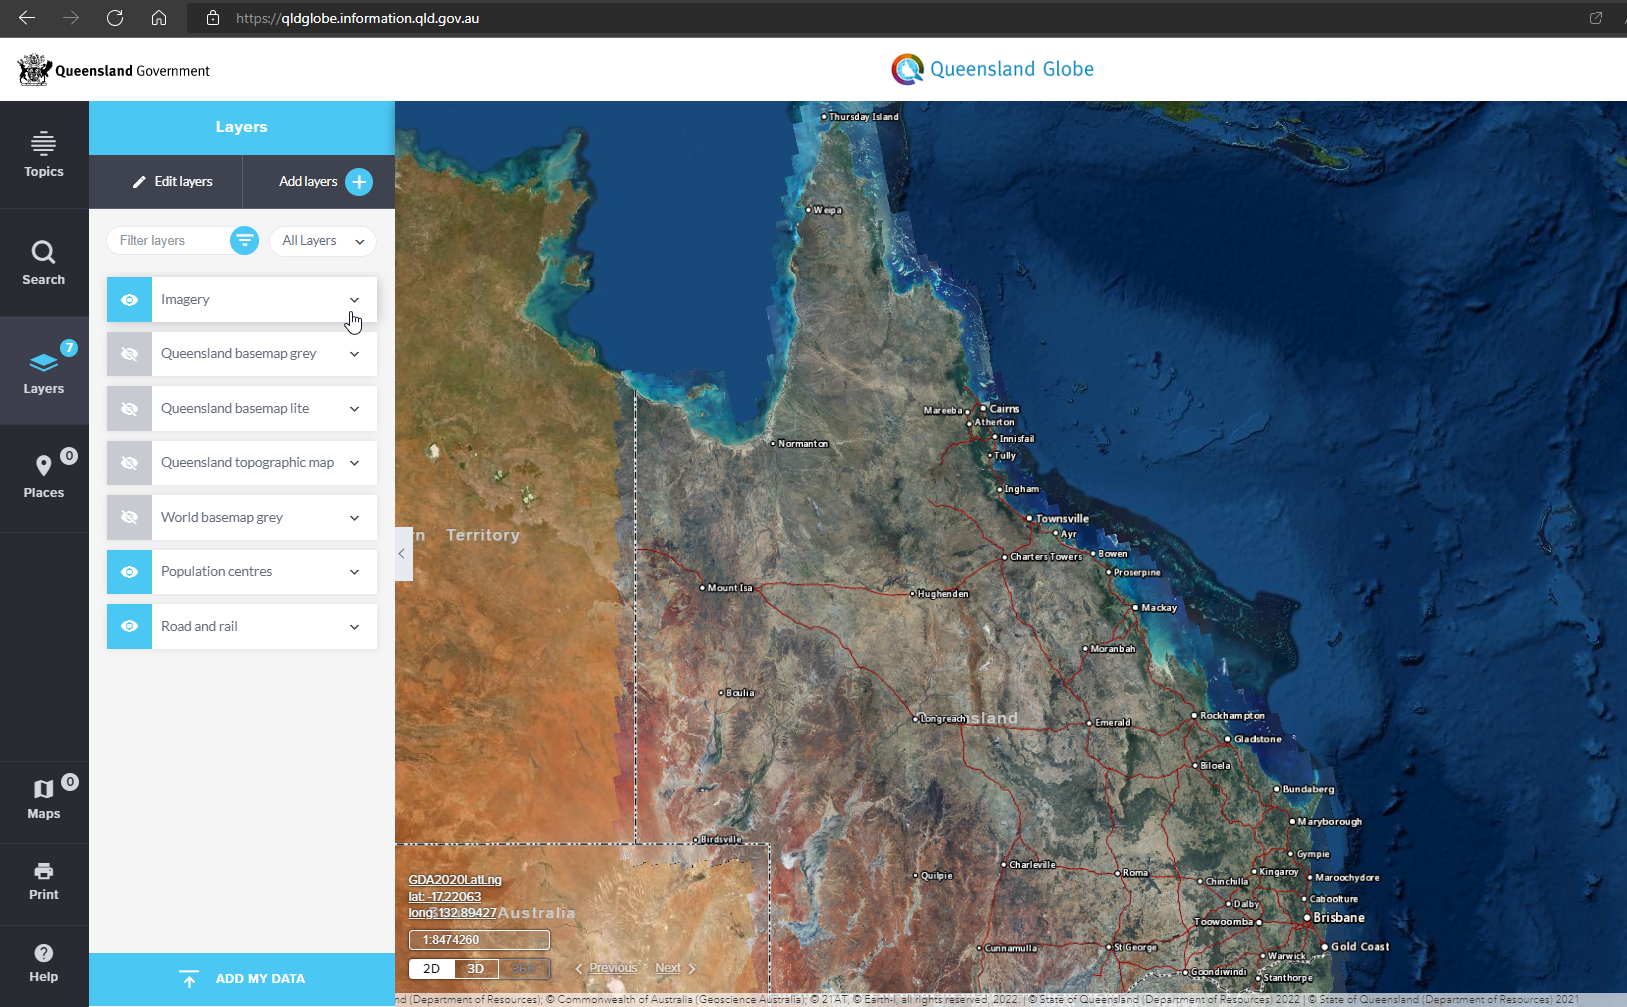
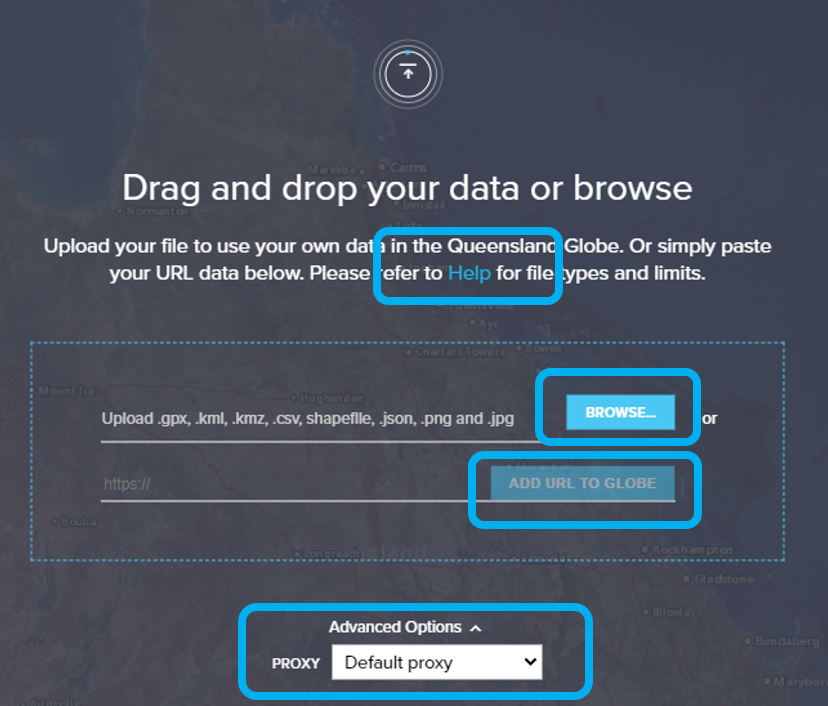
- Select Layers to expand the Layers panel and click on Add My Data.
- Drag and drop or manually browse to the file location of an image with the accepted format of .JPG or .PNG file (maximum 3.5 Mb and 7 Mb respectively).
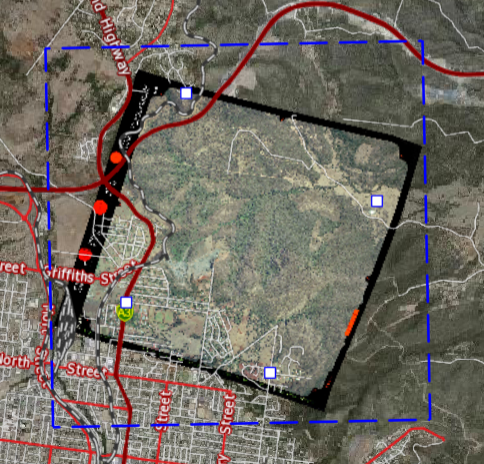
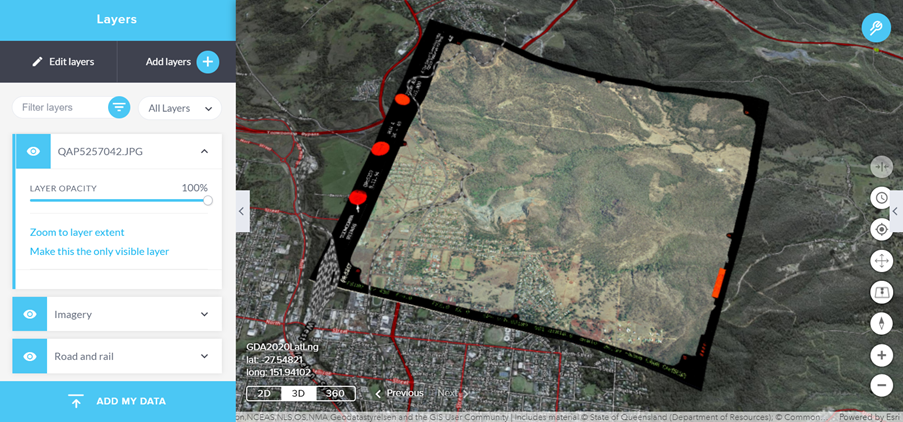
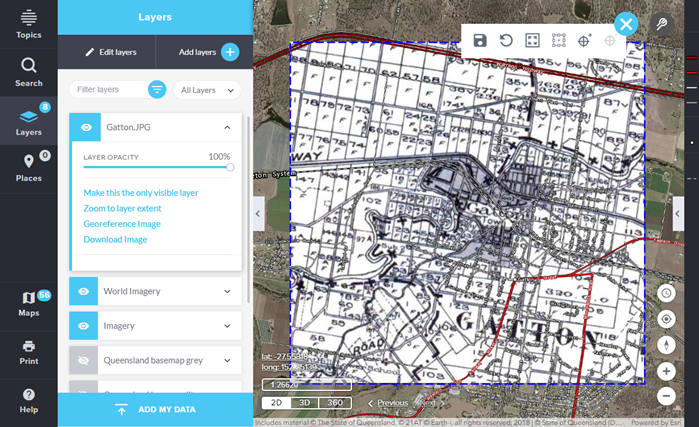
- The image now appears in your Layers list, and is centred on-screen. The extent of the active image will be delineated with a blue dashed line.
- The Georeferencing Toolbar will open up automatically when an image is added, providing access to multiple tools to modify the placement of your image.
- In the Layers panel, adjusting the Layer Opacity bar or toggling the layer visibility can help distinguish between your image and the Globe map.
- Click the Save icon to save your image location along with any modification you may have already made. It is important to save the image before printing or saving your map. The Save icon in the Georeferencing toolbar is saving the adjustment applied to the imported image only.
- The Reset option will undo any adjustments made to that image since the last save.
- Selecting the Centre Image will resize your image and bring it to the centre of your current view.
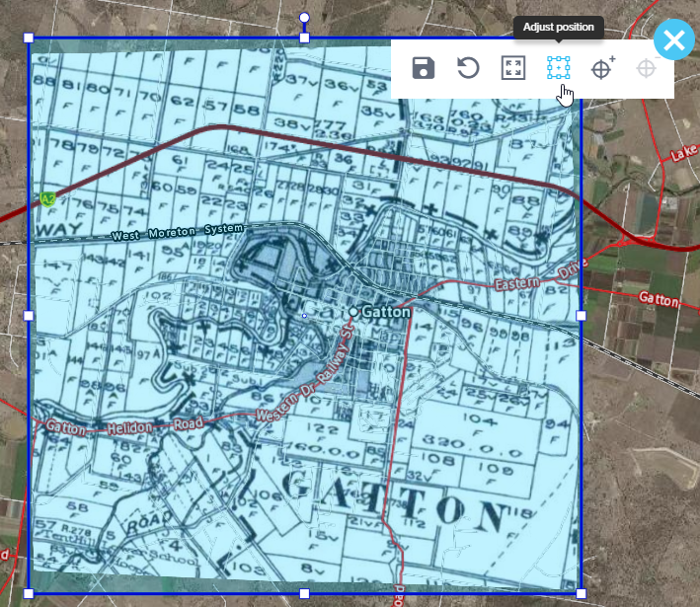
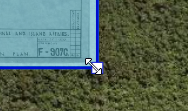
- The Adjust position tool lets you modify the image in the following ways:
- Move - dragging the image around
- Resize - dragging a square handle at the image perimeter
- Rotate - dragging the circular handle at the top of the image
- Move - Click inside the image and drag the mouse to move the image around the screen.
- Resize - Click on the corner handles to adjust the size.
- Rotate - Click and hold the rotation handle to rotate the image if needed.
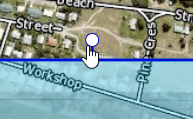
- Control points can be added by activating the Add control point tool. Once this is activated, click a point on your image, then click the corresponding point on the Globe map.
The image will 'warp' to fit to the Globe map, based on the control points. Pressing the Escape key will clear the first click if it is inadvertently placed.

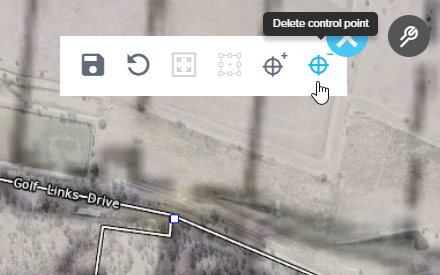
- Continue adding control points. If you are unhappy with any of your points, remove them with the Delete Control Point tool. Removing a control point will revert the image to the previous state.
Remove them all and you will be able to move, resize or rotate the image again.
- Select the Save icon to retain any adjustments you have made to the position of the image.
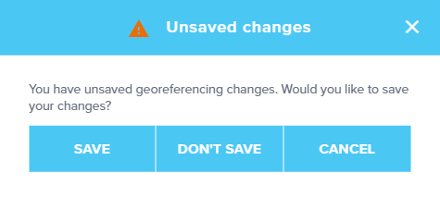
- Attempting to exit the tool will prompt a user to save their image.
- Once georeferenced, the image can be saved to a map or downloaded for use in other applications.


Download a georeferenced image
To download a georeferenced image from Queensland Globe.
- Ensure the adjustments to the position of the image have been Saved.
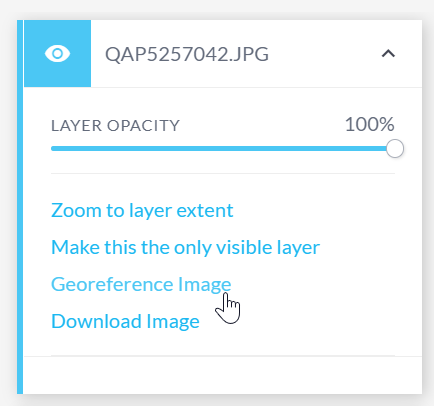
- Expand the image within Layers to view available options.
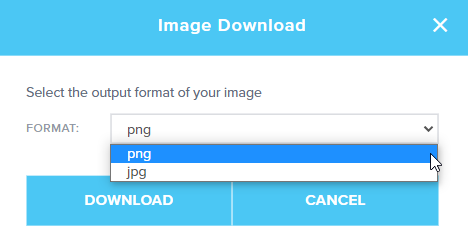
- Select Download Image.
The downloaded georeferenced image (.JPG/.PNG) is accompanied by a corresponding world-file (e.g. .JGW, .PGW) and is packaged as a .ZIP. The world-file is an ESRI-software specific text file that contains coordinates to locate the associated image in a coordinate space. Both the image and the world-file should be located in the same folder for software to recognize.
For use in ArcMap/ArcGIS Pro (https://www.esri.com), open a New Map/Project, set Projection for your ArcMap/ArcGIS Pro session by clicking on the View menu, Data Frame Properties, Coordinate System, and select “WGS_1984_Web_Mercator_Auxiliary_Sphere WKID: 3857 Authority: EPSG” (search by keyword 3857). Then open the downloaded image. The image would appear in its correct location as specified by the world-file.
For use in an existing Map Document/Project, it is recommended to switch the projection to EPSG:3857 or WGS84/Pseudo Mercator before adding the .JPG/.PNG.
For use in QGIS (https://qgis.org), select the Projection/Coordinate Reference System (CRS) WGS84/Pseudo Mercator (EPSG:3857).
For MapInfo users (https://www.pitneybowes.com), the downloaded world-files are not not compatible as MapInfo follows a different specification for geo-referencing world-files.
Upload a georeferenced image
Georeferenced images can be loaded into Queensland Globe to compare against other map layers. Supported images include .PNG or .JPG with world file coordinates projected to WGS84 Web Mercator (Auxiliary Sphere). The image must be zipped with the world file and you must be logged in prior to uploading the .ZIP file.
Once the image is loaded into the map, the Georeferencing toolbar will appear. See Georeference an image for more information on how to use Georeferencing toolbar.
Access the Georeferencing Toolbar
The dashed blue bounding box indicates the image layer that the georeferencing tools will be applied to. If you wish to georeference another image in the Layers panel, or have received a shared map with an image included, the Georeferencing toolbar can be accessed again.
- Select Layers to open the Layers panel.
- Expand the image that you wish to georeference and select Georeference Image. This will open the Georeferencing Toolbar.
- Adjust the placement of the user-added image layer using the Georeferencing tools.
- The georeferencing tools are only available in 2D view mode. However, once an image layer has been georeferenced, switching to 3D or 360 mode will overlay the image onto the terrain.